About Dynamic Content
Dynamic Content includes everything you need to create, schedule and publish content. It includes a content library that makes it easy to view and organize your content, and preview and editing features to help you get the content ready to be scheduled and published.
To help streamline the way you work, you can also perform some key asset management tasks from Dynamic Content too, such as uploading assets.
Each Dynamic Content user is granted permissions that control which tasks they can perform, and the hubs and repositories to which they have access. Permissions can be granted using the predefined roles: author, publisher, developer, admin or member. See Assigning roles.
Quick tourLink copied!
When you login to the Dynamic Content app, it opens showing the dashboard which helps you to monitor the status of work.
Hub menuLink copied!
At the top left of the window you’ll see a menu containing one or more hubs. A hub is the space within which content is created or scheduled. Hubs can contain multiple repositories and these are used to store your content and slots. The account structure page explains some of the different options for organizing your hubs and repositories.
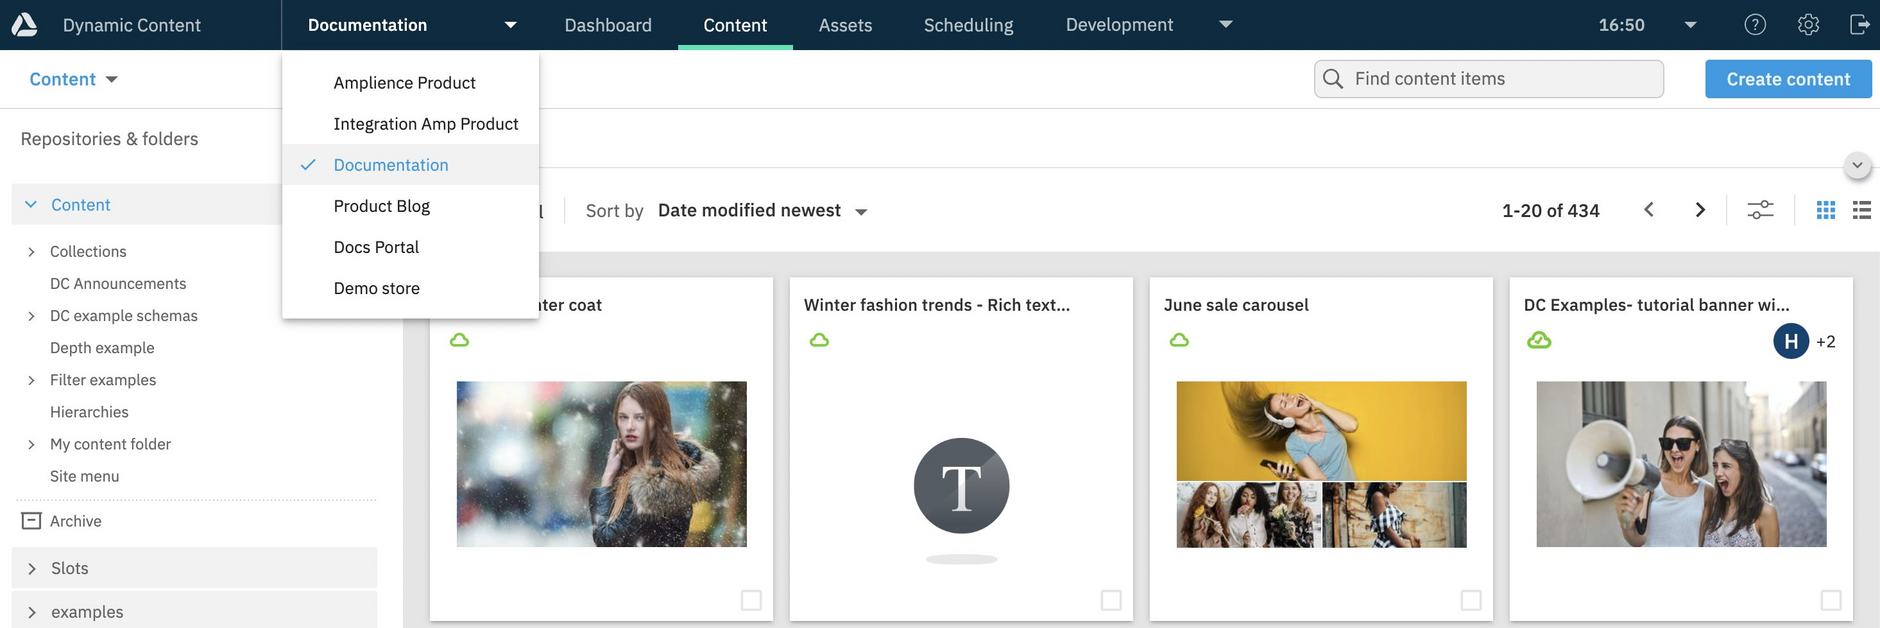
If your account has multiple hubs you can switch between them using the hub menu as shown in the image below.
Dynamic Content tabsLink copied!
Next to the hub menu you'll find the headings for the dashboard, content production, working with assets and scheduling. The headings that are shown, depend on your permissions and what is provisioned on your account.
The dashboard provides you with a configurable view of your content, allowing you to quickly focus on the items you need to work with. It consists of two views: Assigned content and Updates from Amplience. You can filter the assigned content by assignee, status and repository.
In the content tab you’ll see the content library, showing the content cards for content in the currently selected repository. From here you create items of content.
The assets tab is displayed if it has been provisioned to be available on your account. This tab enables you to do some asset management tasks, such as uploading assets. See the Assets tab page for more information.
The scheduling tab is where you’ll find the planning calendar, containing the events and editions for live content projects and those that are in preparation. From here you schedule your items of content to be published at specified locations and times.
If you're a developer you'll have access to the development tab from where you can access developer features such as creating content type schemas, managing content types and setting up integrations.
Time zone menuLink copied!
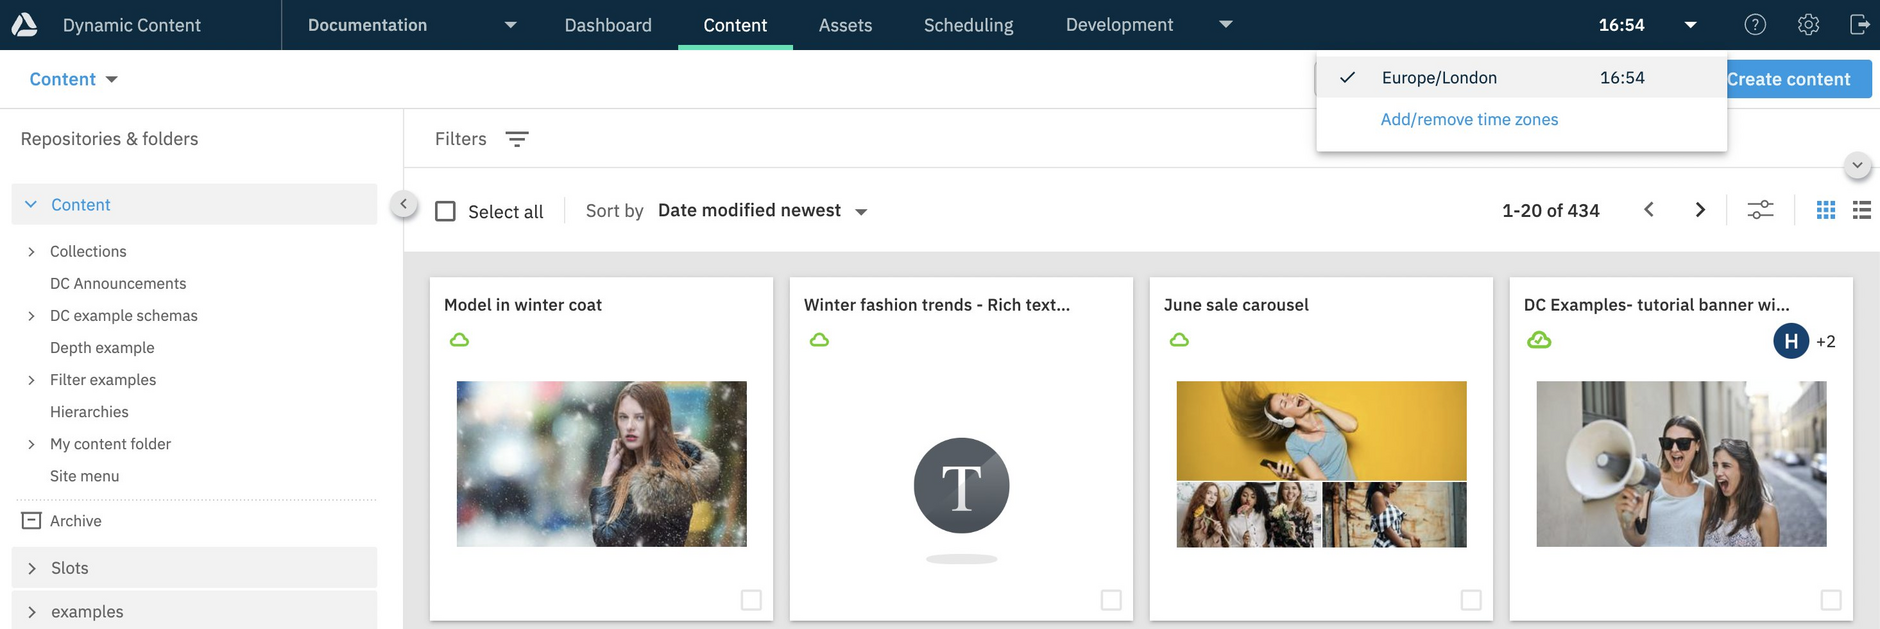
The first menu on the right side of the masthead displays the currently selected time zone, allows you to switch to any of the other time zones you have added, and manage your time zones from Date & time settings. The currently selected time zone is marked with a tick and the system time zone is indicated with an icon if it's not the current time zone.
See Date & time settings for more details about managing time zones.
Help iconLink copied!
Clicking the help icon will open this documentation site.
Settings menuLink copied!
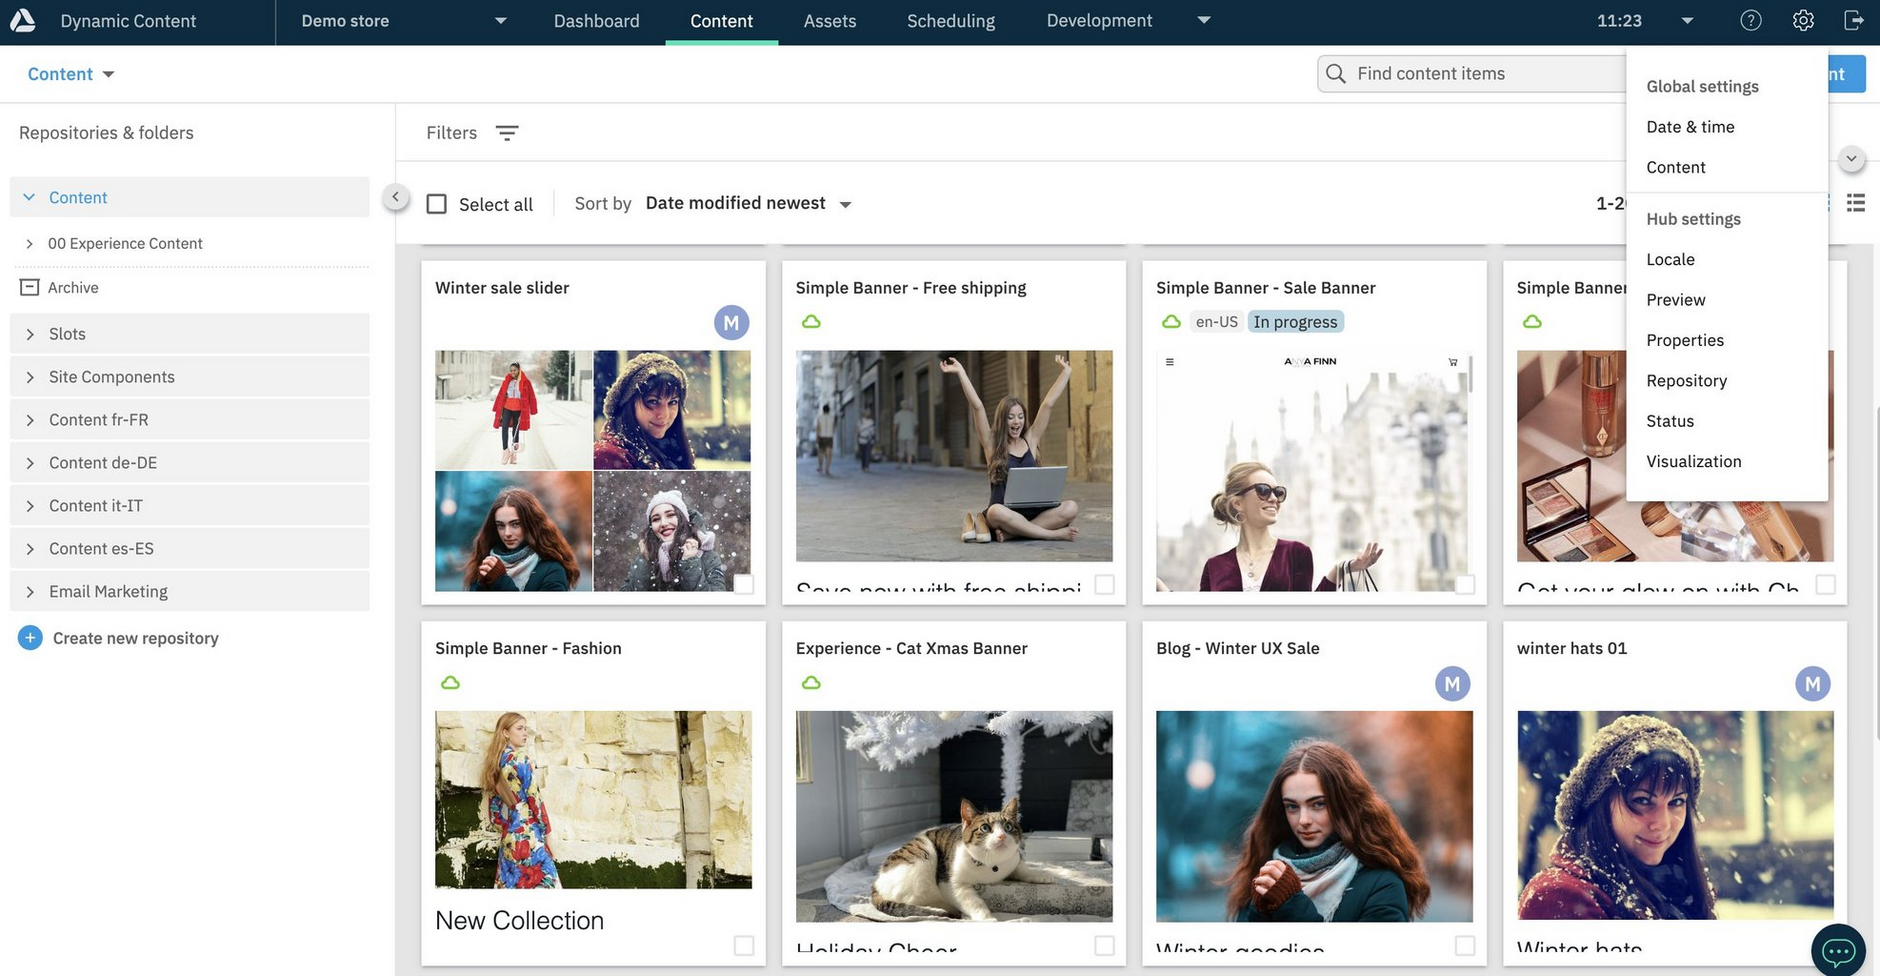
From the settings menu you can choose date and time formats and add time zones, and configure settings for the current hub.
Date and time. Choose US or UK date format and the 12 or 24 clock. Add time zones and switch between them from a menu in the masthead. See the settings page for more details.
Properties. The properties window shows the hub name, particularly useful if you are using our next generation Content Delivery API.
Locale. Manage locales on the current hub. A locale is a combination of a language code and an optional country code and are used for both content item and field level localization. For more information visit see locales.
Preview. Set up one or more apps to be used to preview content exactly as it will appear at a specified date and time. For a user guide to the preview feature see the previewing content user guide. For developer information more information can be found on the developing a preview app page.
Status. Content statuses are user defined and can be used to support your production workflow. You can add up to 100 statuses per hub. See content status.
Visualization. Visualizations allow you to preview a content item in the content editing window before it's published. See the visualizations user page for more information about using visualizations. Developer information including an example is included in developing a visualization.
Repository. Hide and show repositories and change the order in which they are displayed in the Content Library. For more information see repository settings.
Logging outLink copied!
To sign out of the Dynamic Content app click the log out icon.


