Point of Interest
On this page we'll introduce Point of Interest (POI) focal points and hotspots, show you how to use the POI app and provide some examples. To try out the POI feature take a look at the POI page on the Dynamic Media playground.
Introducing POI focal points and HotspotsLink copied!
Point of interest is a feature that allows you to upload a single image and to enhance that image with metadata to specify how that image should be cropped for different screen sizes. POI is useful when images will be displayed over a wide range of devices that have a variety of screen sizes, resolutions and aspect ratios. Before POI, content creators would have to create several different versions of an image tailored to different devices.
The POI app lets you specify the focal point, the most important part of an image. The focal point allows you to identify the part of an image that you want to focus on, storing this information in the image metadata. This information is used to crop the image dynamically as the image size changes and keep the focal point in frame. Using the POI app, the creative team can specify the focal point and see how the image will appear on different device sizes. In the focal point example we ensure that the model is always in shot when the image is viewed at different aspect ratios.
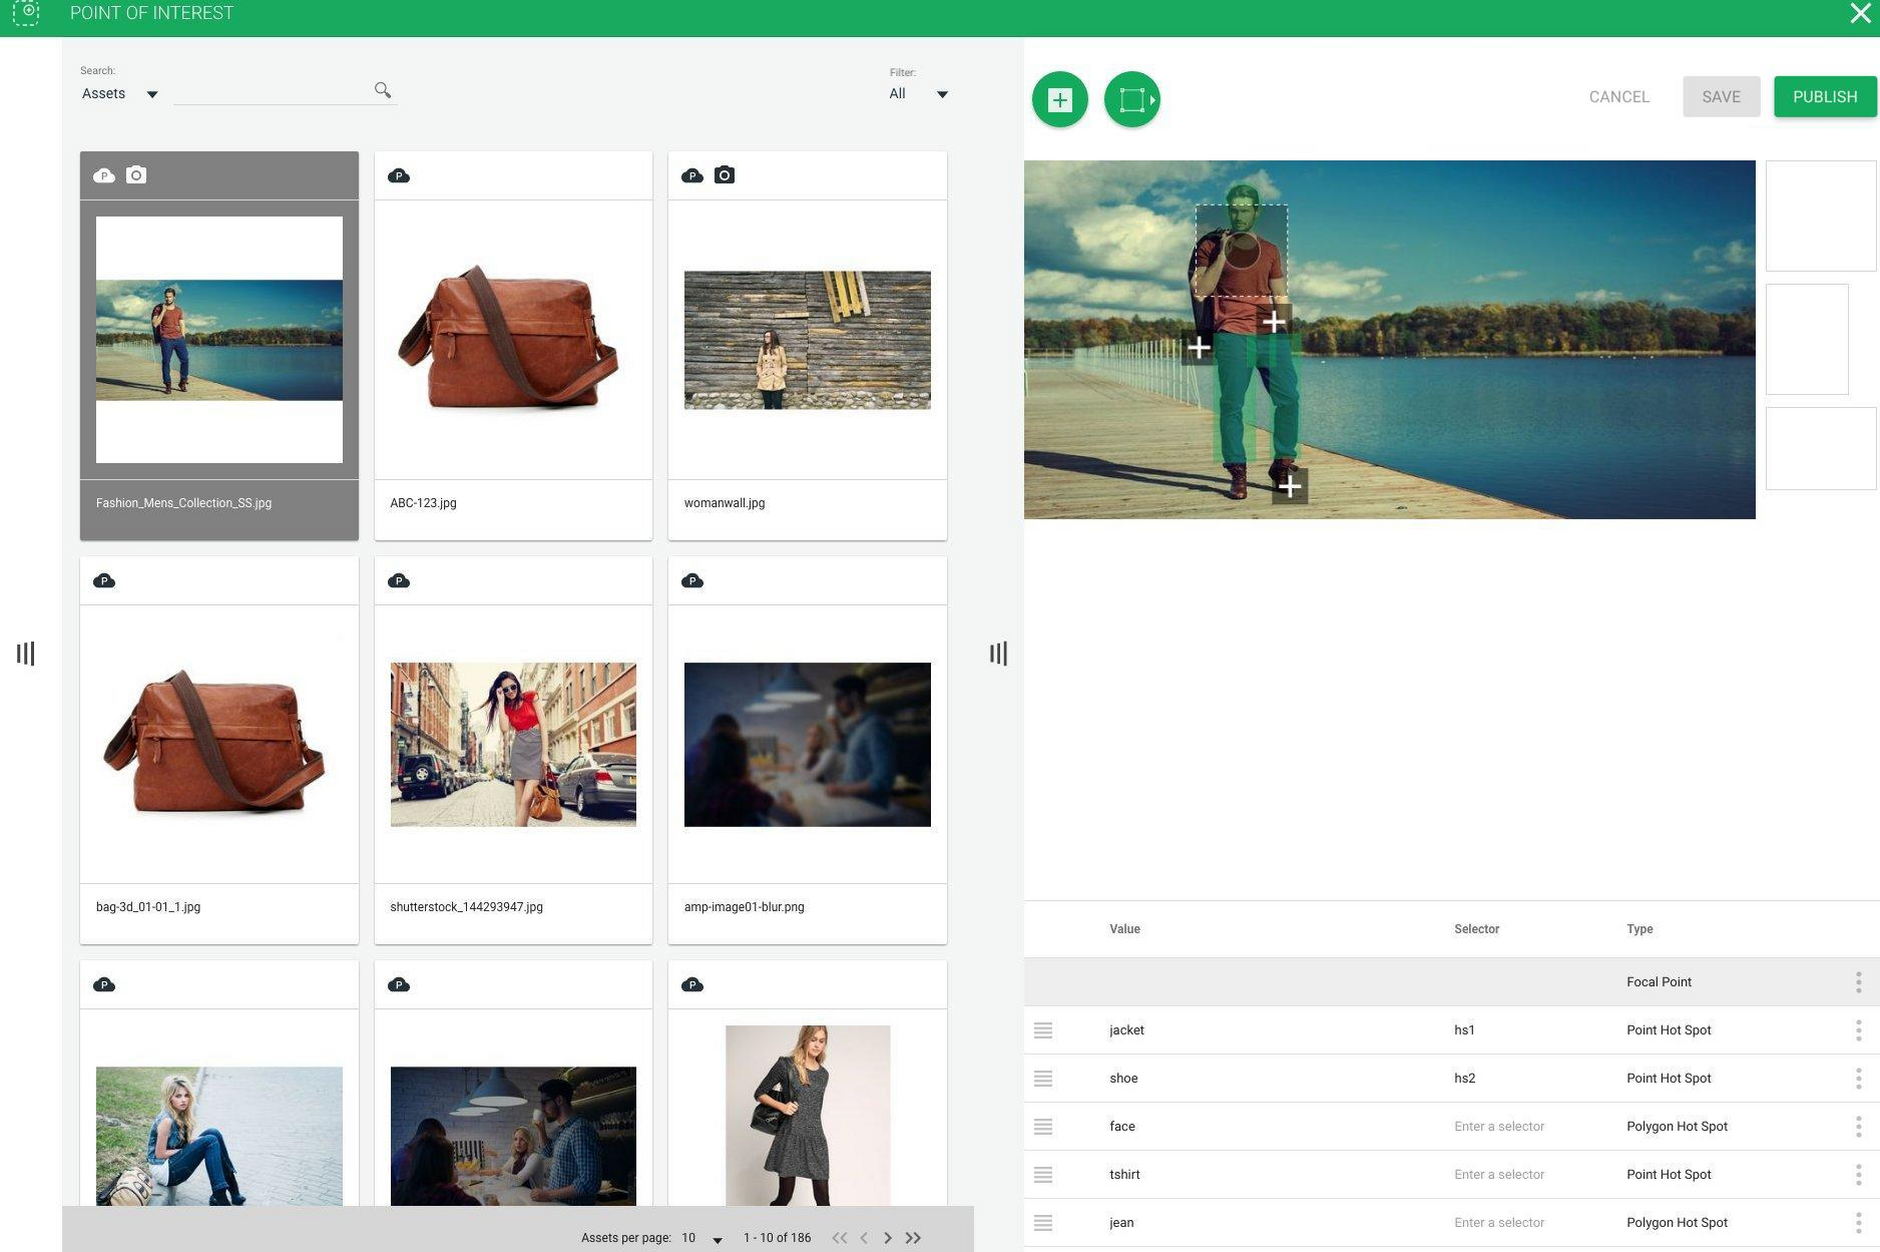
The POI app can also be used to add hotspots to an image, to support making that image "shoppable" and enriching the image with product information such as SKUs. In our example, we specify hotspots for the jacket, t-shirt and shoes that a model is wearing in an image. The hotspot data (e.g. the product SKU) is rendered by the client application for consumption by the user.
The POI AppLink copied!
Adding POI metadata to an image allows you to make that image adaptable, responding to different screen sizes and aspect ratios and ensuring that a certain area of that image is always visible, for example. POI information is added to an image using the POI app.
The purpose of the POI app is to give content curators a method of adding a point of interest to an image without having to devise the exact values for a Dynamic Imaging (DI) query string. Once you have the POI schema full permissions and the POI installed into your account, you can access this app through Content Hub apps by clicking the icon as shown here:
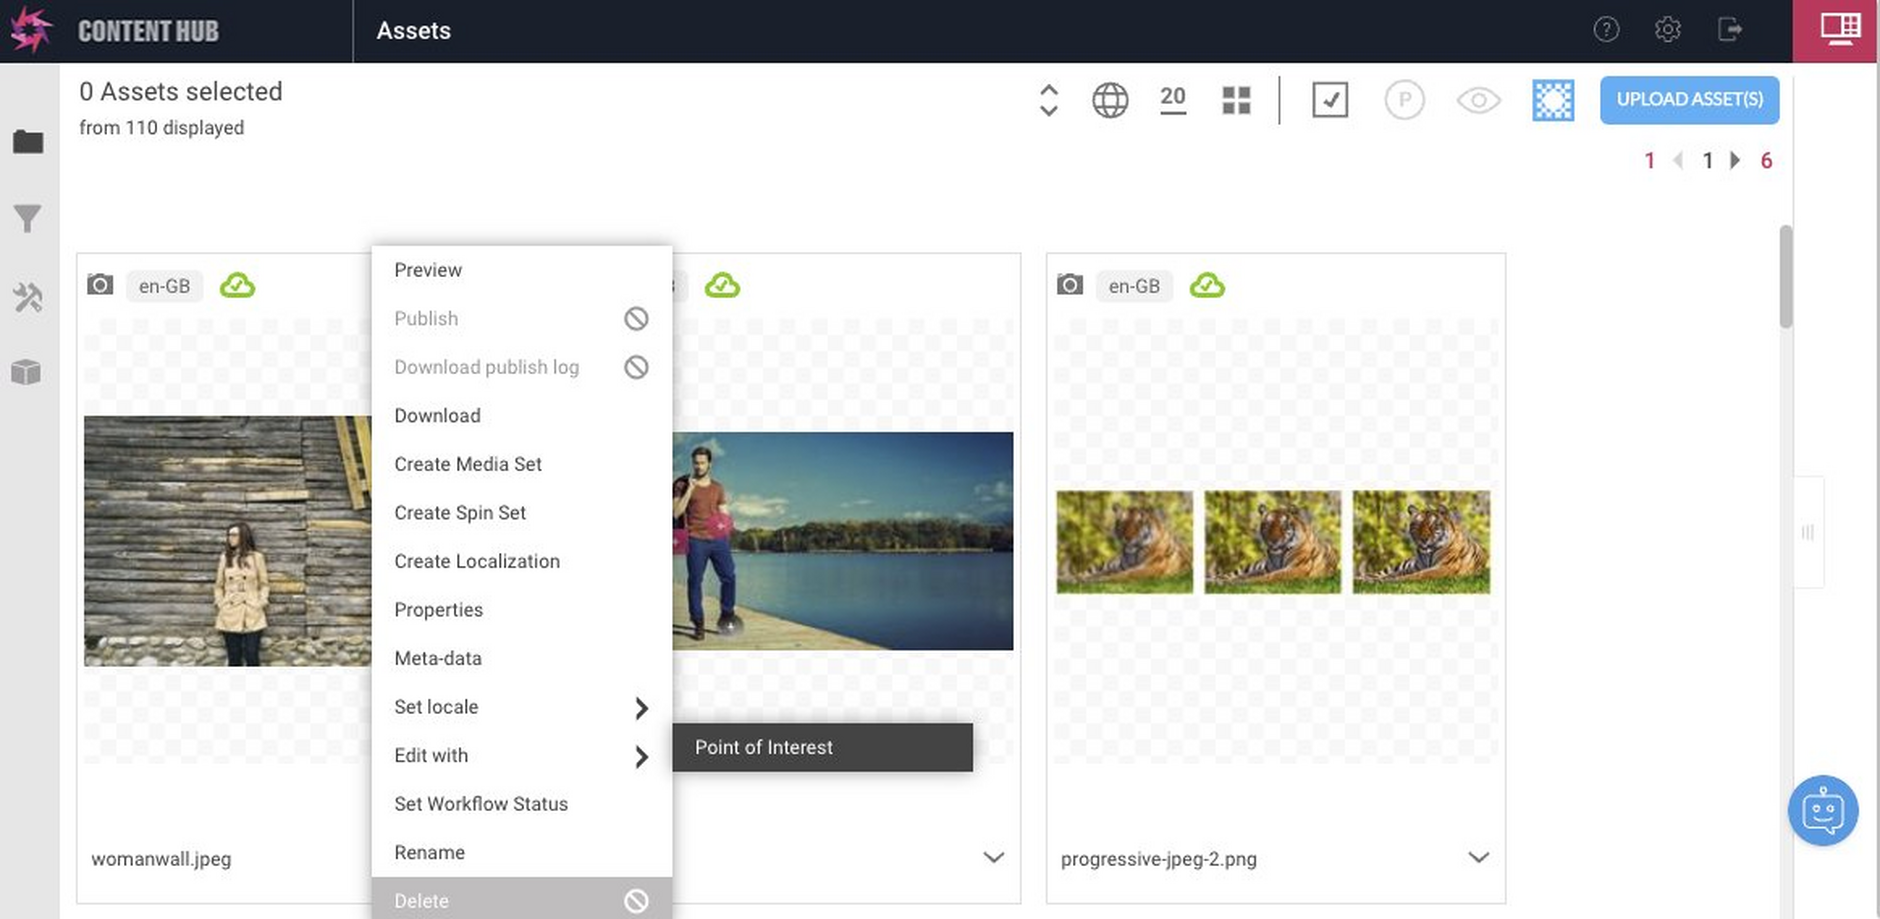
To open the POI app with an image, select the image in the Content Hub and right-click to display the contextual menu. Choose the "Edit With" menu item and then select "Point of Interest".
Adding a focal pointLink copied!
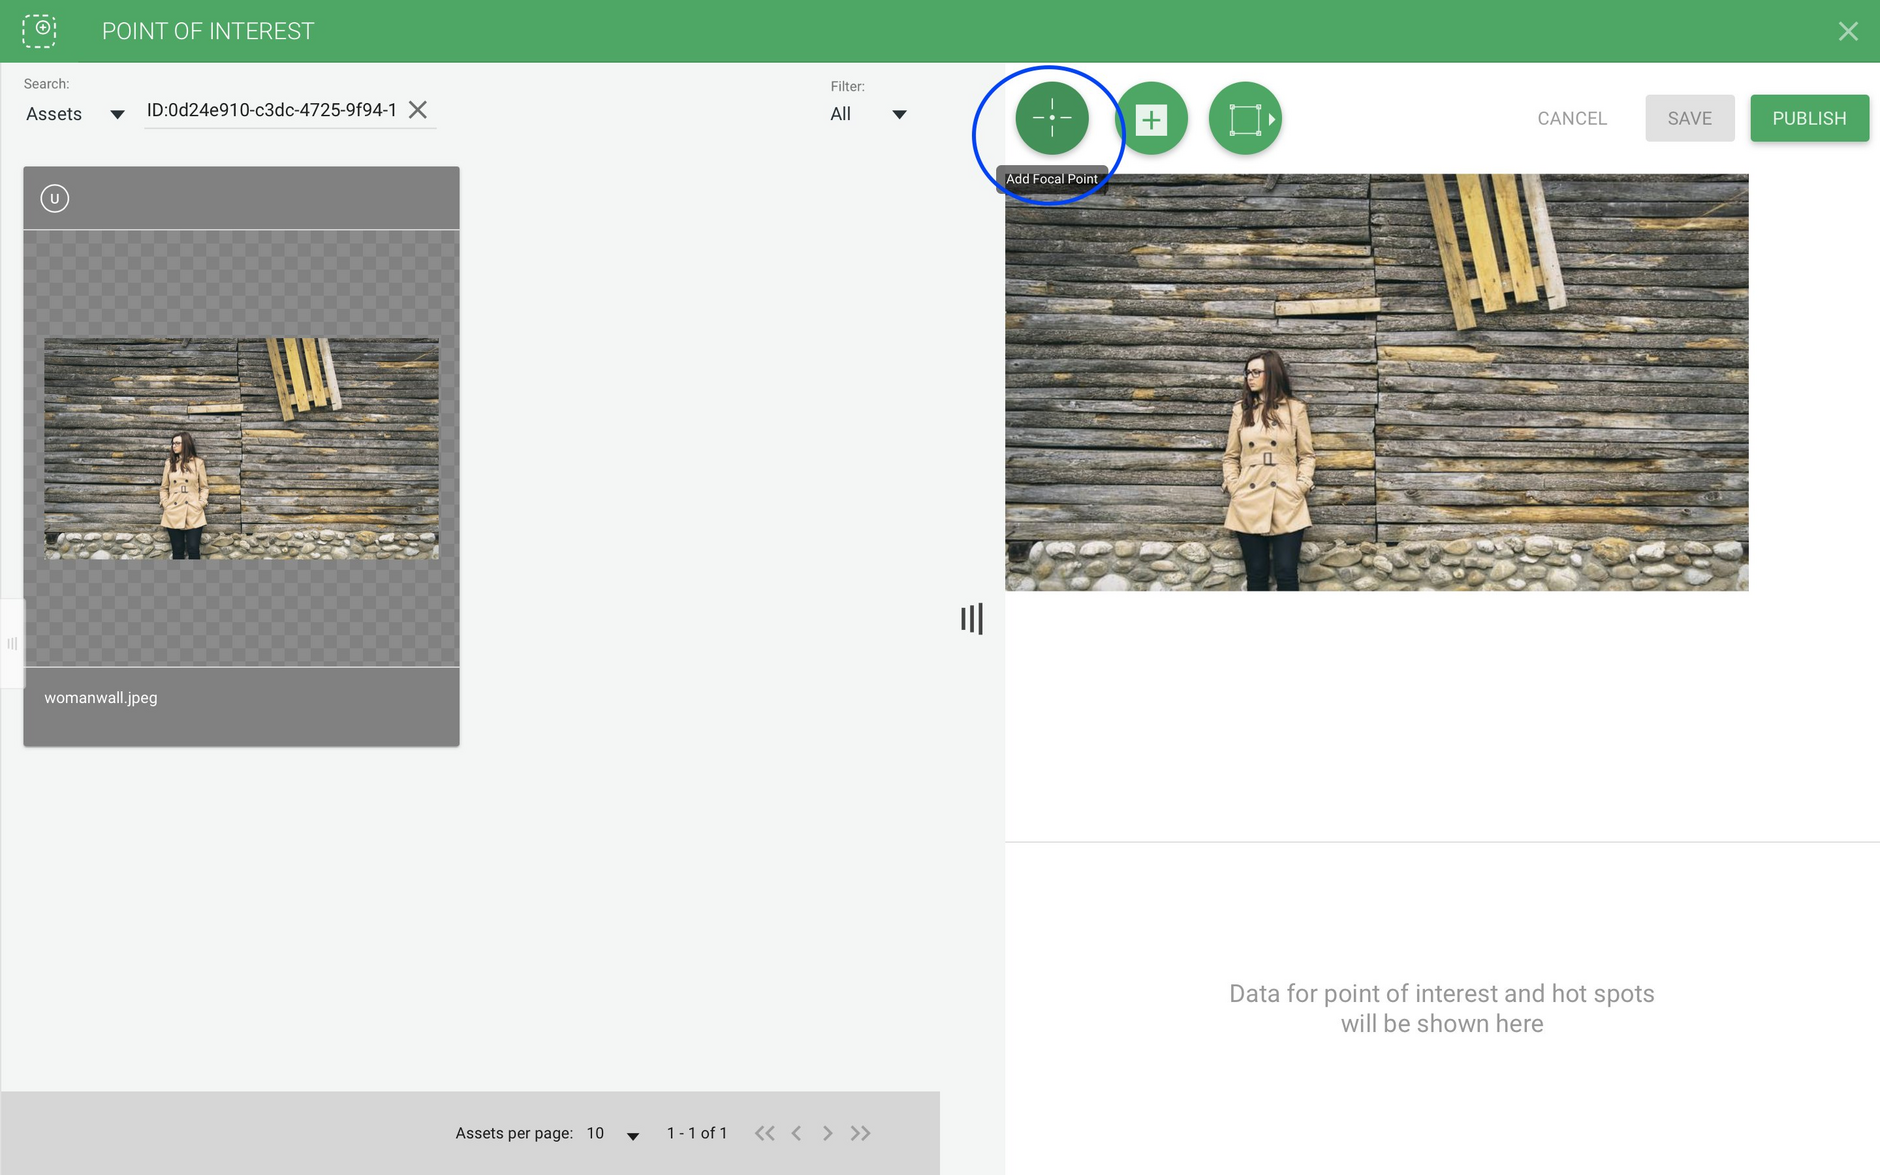
The POI app opens with the image selected. In this example no focal point or hotspots have been added to the image yet.
Click the "Add a focal point" button, as highlighted in the image below, to add a focal point to the image. A focal point icon will be added to the middle of the image.
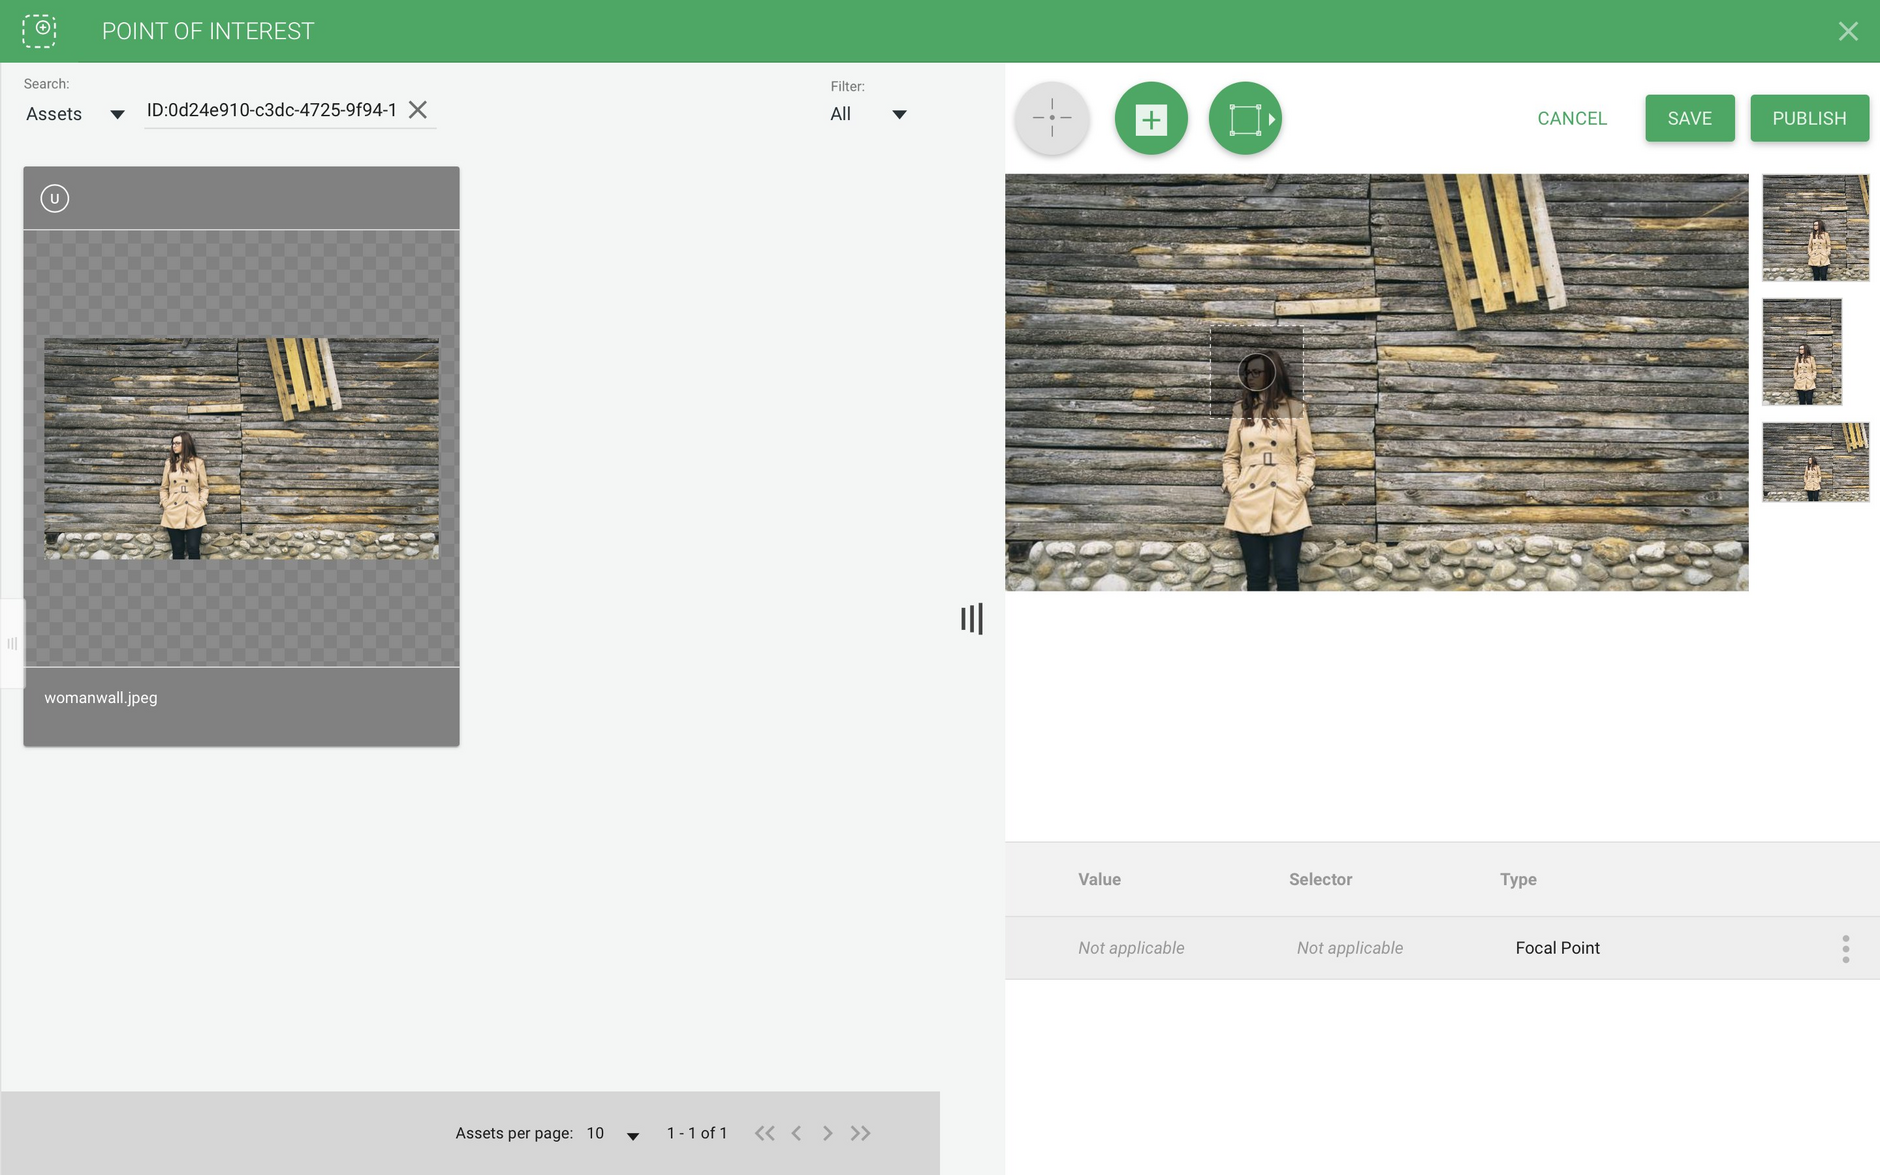
Drag the focal point icon to the area you want to focus on. In this example we want to ensure that the model's face is always the focus of the image. On the right hand side of the window you can see previews of how the image will appear at different aspect ratios with the chosen focal point.
When you are happy with the focal point location, click the "Save" button. In the examples in this page we are using published images, so when the image is Saved, click the "Publish" button. Publish will save and publish the image.
Note that saving does not create new images; but it merely adds coordinates to the image metadata. Once you have saved your image with point of interest meta data to an already published image, you must re-publish it
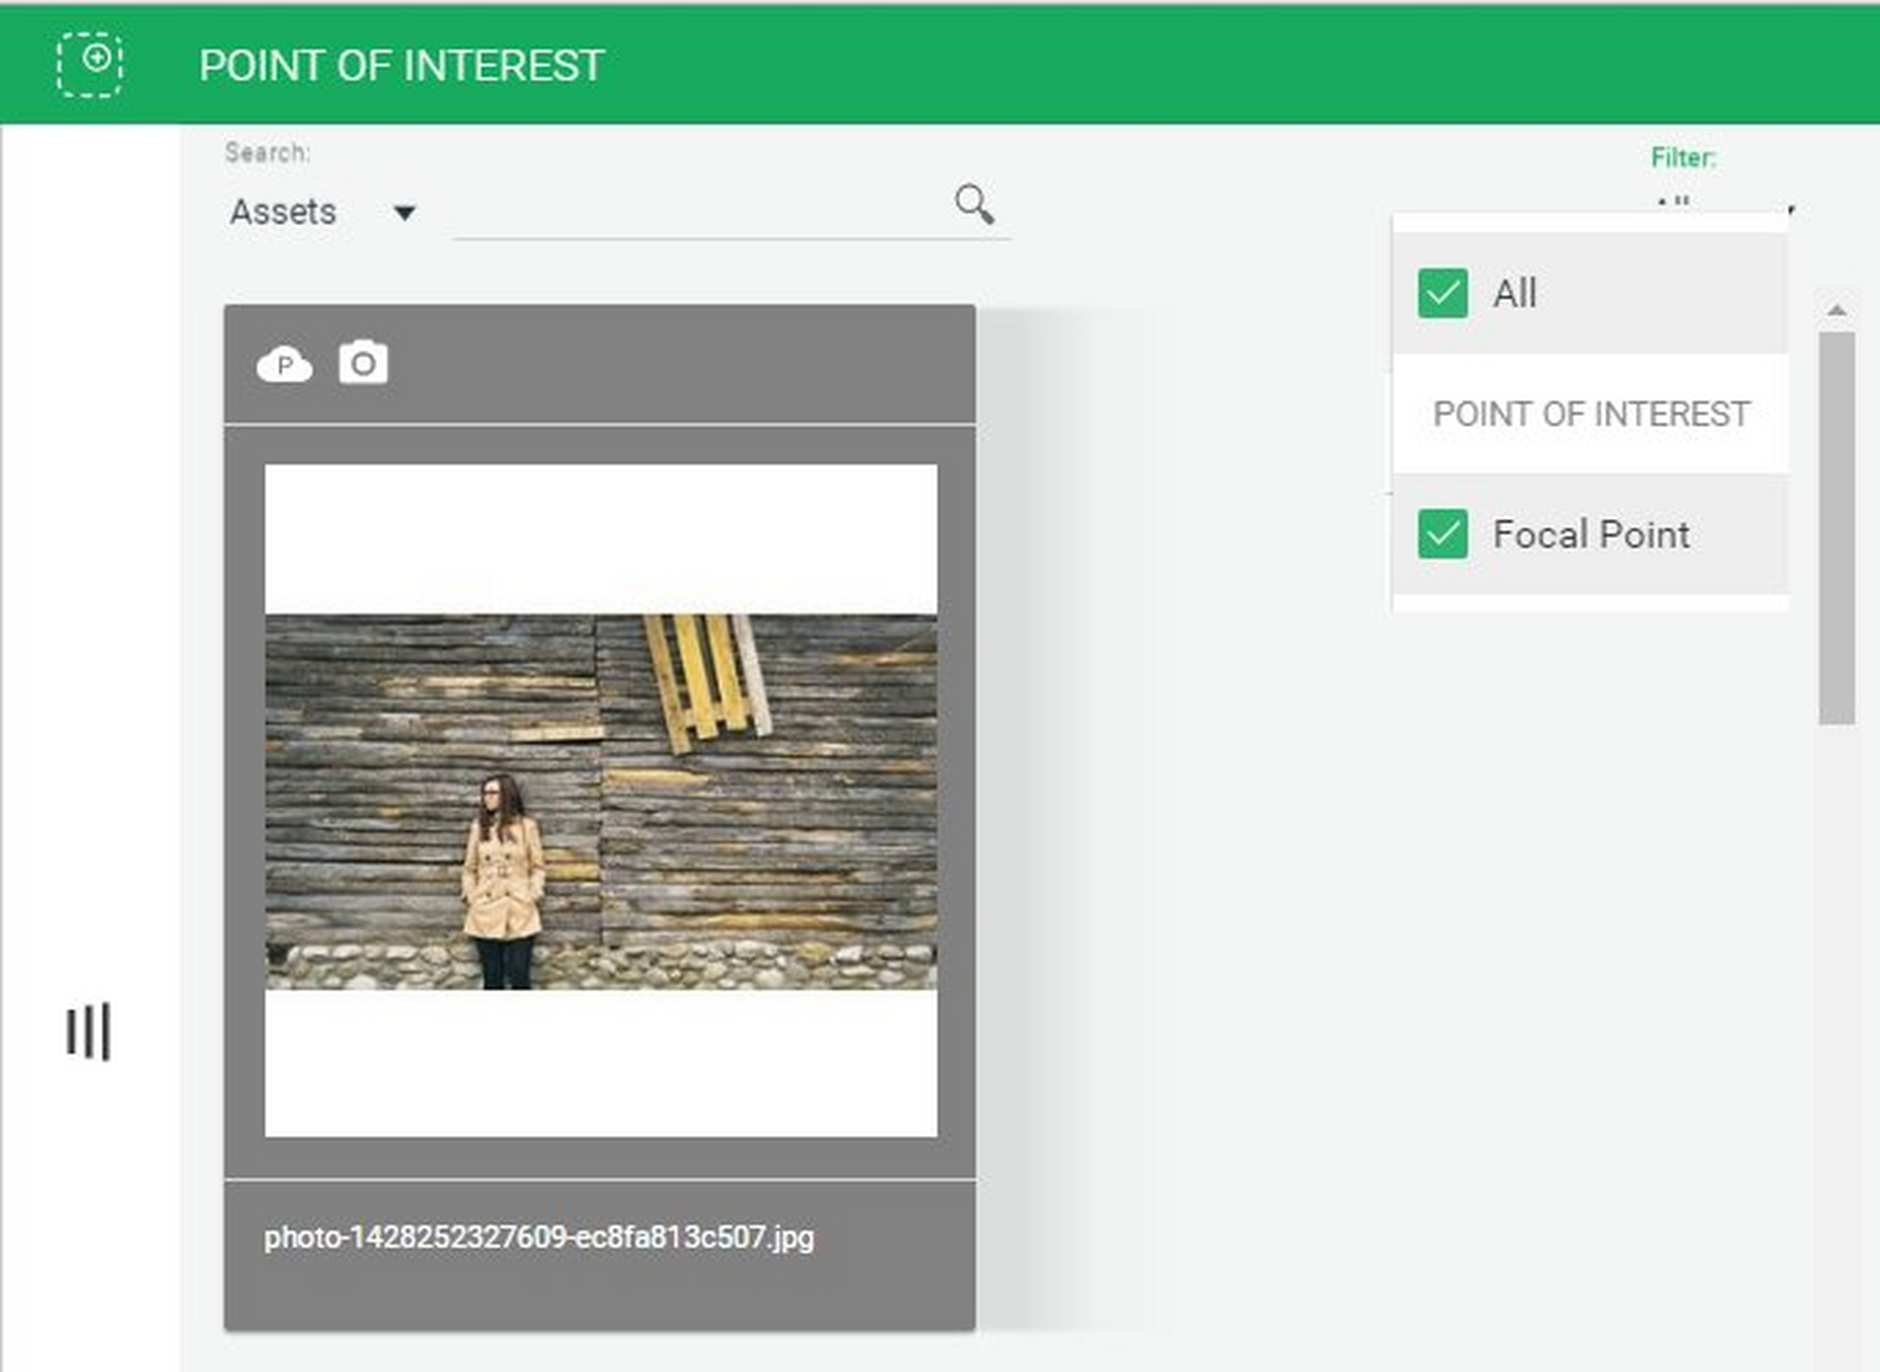
You can choose to limit the display of images only to those that have been enhanced with POI data by choosing one or more of "Focal Point", "Point hot spot" or "Polygon hotspot" from the filter menu.
Viewing POI MetaData in Content HubLink copied!
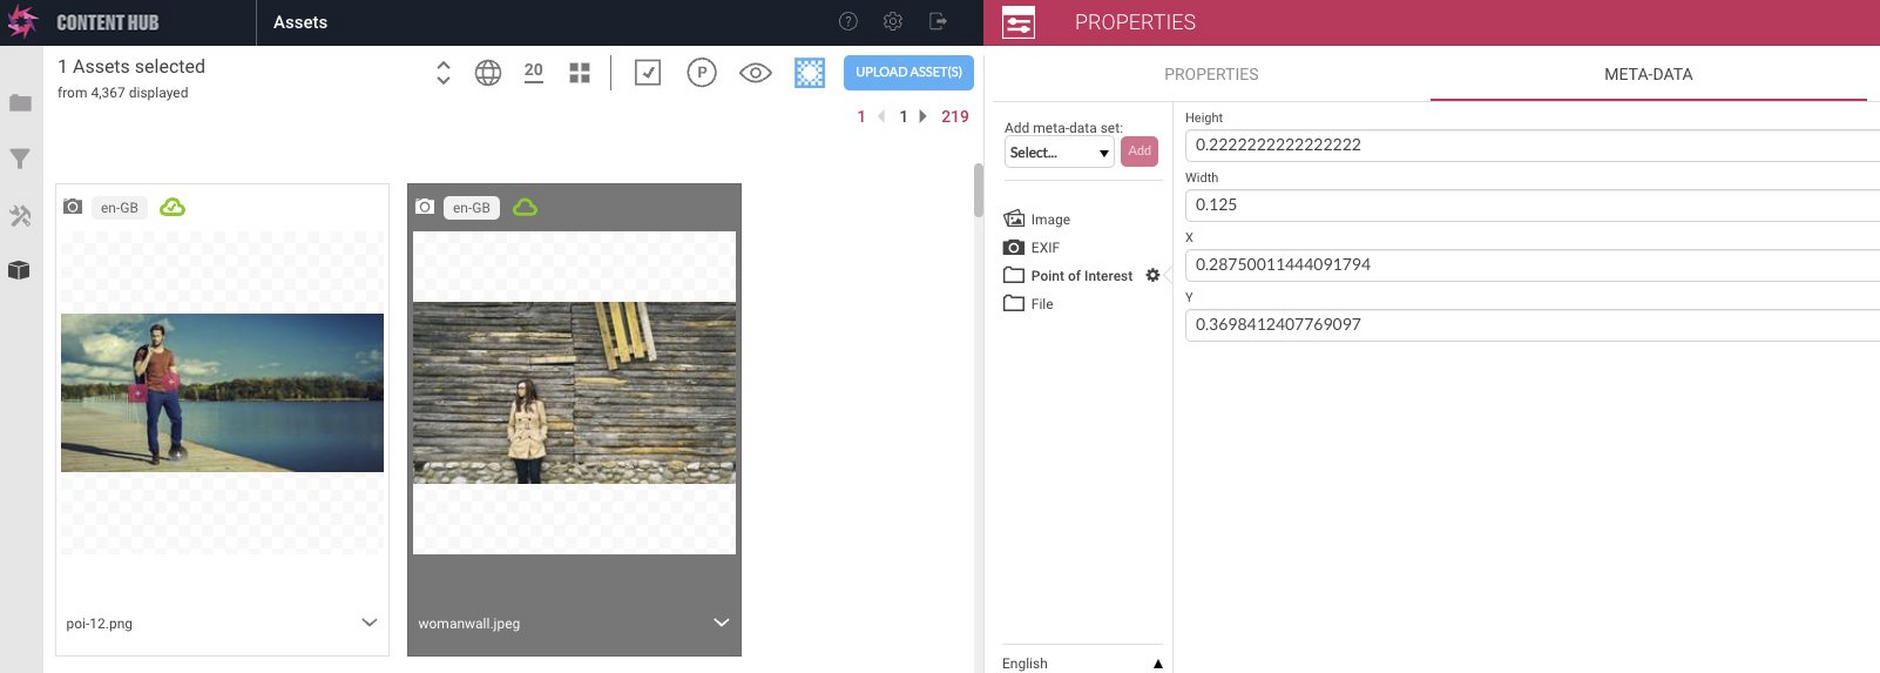
Once the image is enhanced with POI data, a metadata schema will be added into it. You can check this by opening the image metadata properties in Content Hub as shown here:
There are four values shown in the metadata pane, containing information about the POI focal point. These values are floating point numbers, between 0 and 1, representing percentages of the original width and height of the image. For example, a width of 0.5 would represent 50% of the image width.
Using these values, you can calculate the size and the top left location of the focal point rectangle.
Width and height are the width and height of the focal point as a percentage of the image width and height:
- the width of the focal point = width * image width
- the height of the focal point = height* image height
X and y represent the top left of the focal point as a percentage of the image width and height:
focal point left = x image width focal point top = y image width
By default the focal point is 100x100 pixels.
An example of using a POI focal point is shown below. Focal point and hotspot data can also be viewed within the POI app and hotspot data is represented using the same four values as the focal point.
Using POI with the metadata APILink copied!
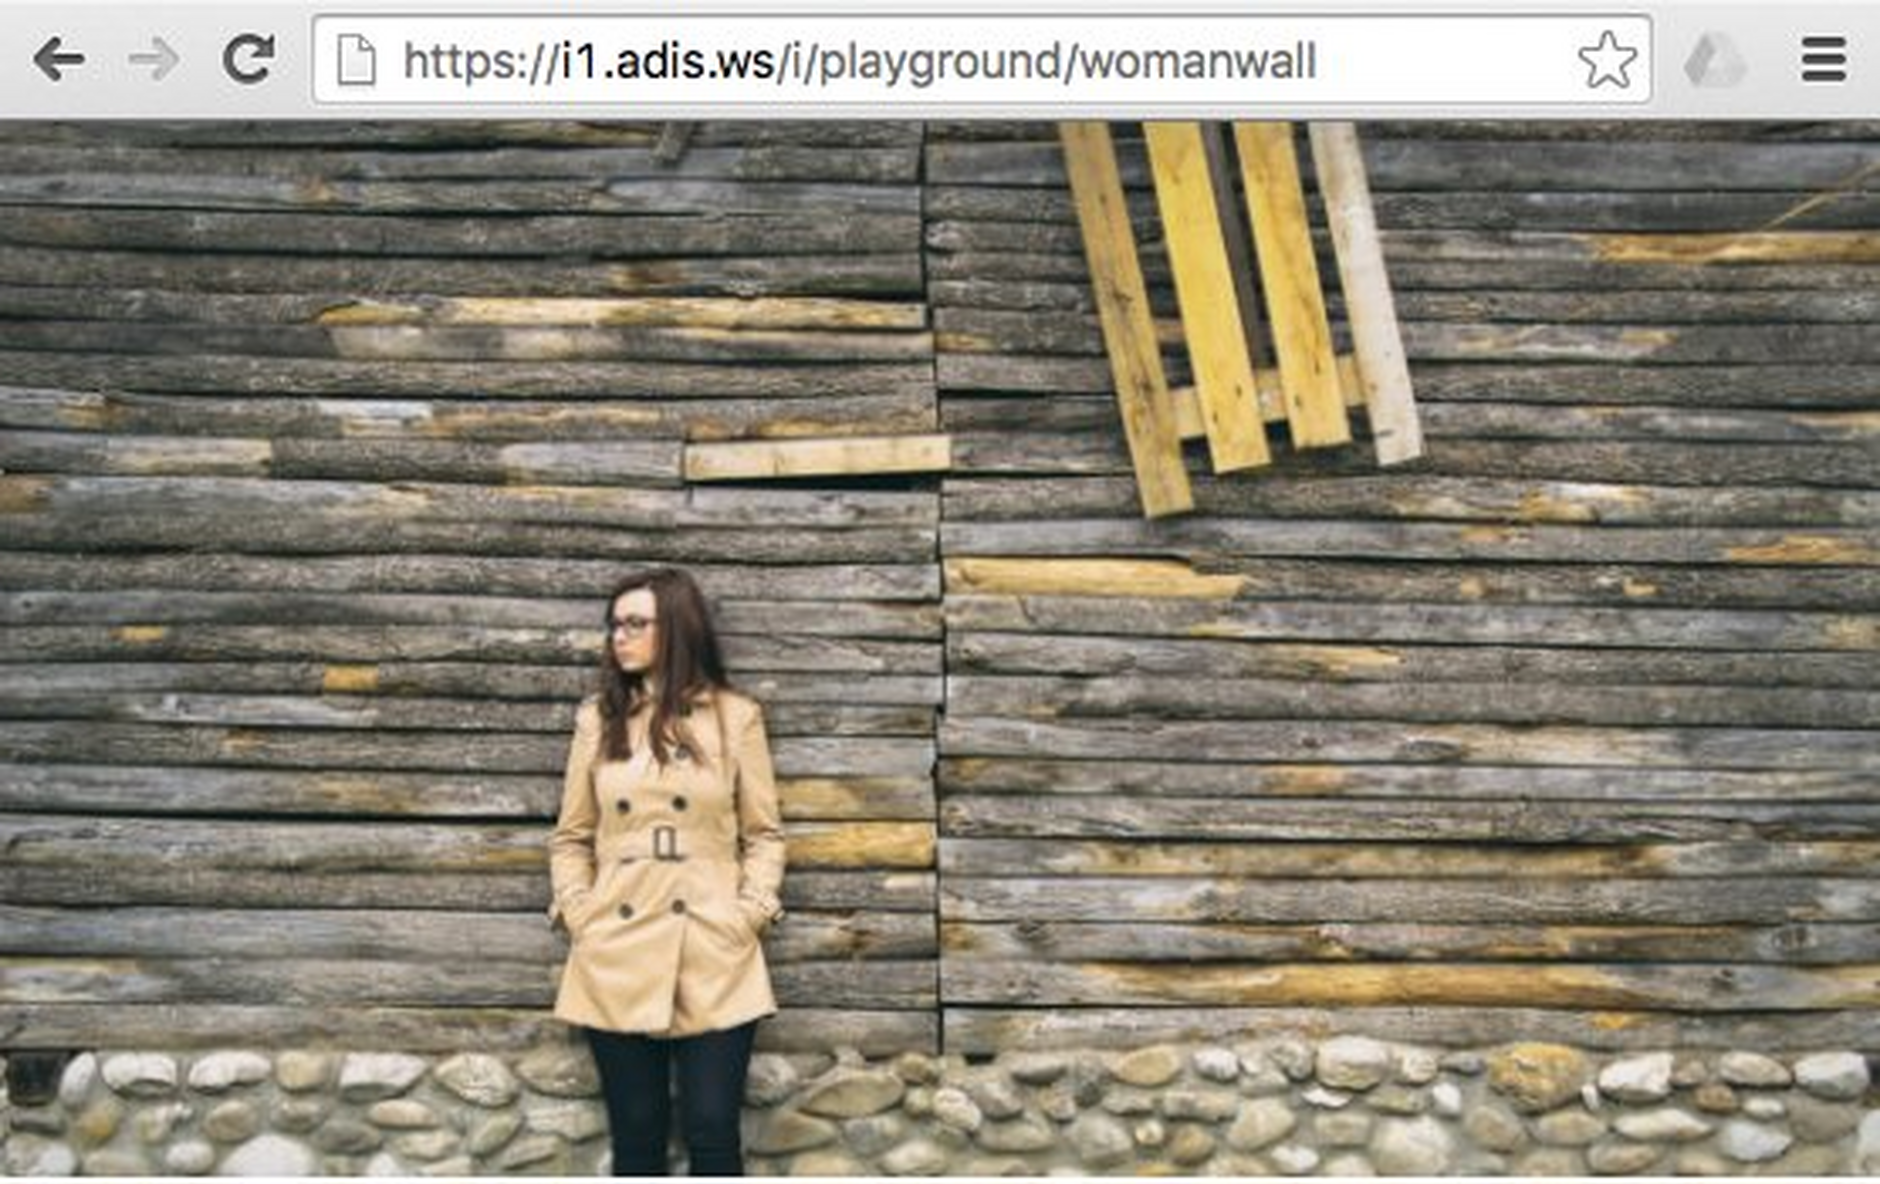
You can access the metadata coordinates of an image by using the meta data API. The example request https://cdn.media.amplience.net/i/playground/womanwall results in this image:
The example image request as JSON
has the following response:
The example image request as JSON, but expanding to show the point of interest data:
has the following response:
The URL parameters used in this example are:
metadata=true retrieves the extra meta data information as part of the image request.
metaFilter=pointOfInterest returns only the extra meta data information which is related to the point of interest. Alternatively setting this to a wildcard ( * ) would return all available published meta data for the image.
Image Examples at Different Aspect RatiosLink copied!
The following examples all display the exact same image at exactly the same 500px width but with different aspect ratios. The idea is to show how the female model is always in shot.
Aspect Ratio 1:1Link copied!
Request:
How it looks:
Aspect Ratio 2:1Link copied!
Request:
How it looks:
Aspect Ratio 1:2Link copied!
Request:
How it looks:
We recommend wrapping any logic into transformation templates for reuse and control.
Using Hotspots (Point and Polygon)Link copied!
In this example, through a series of steps we apply point and polygon hotspots to an image.
Step 1: Enrich the ImageLink copied!
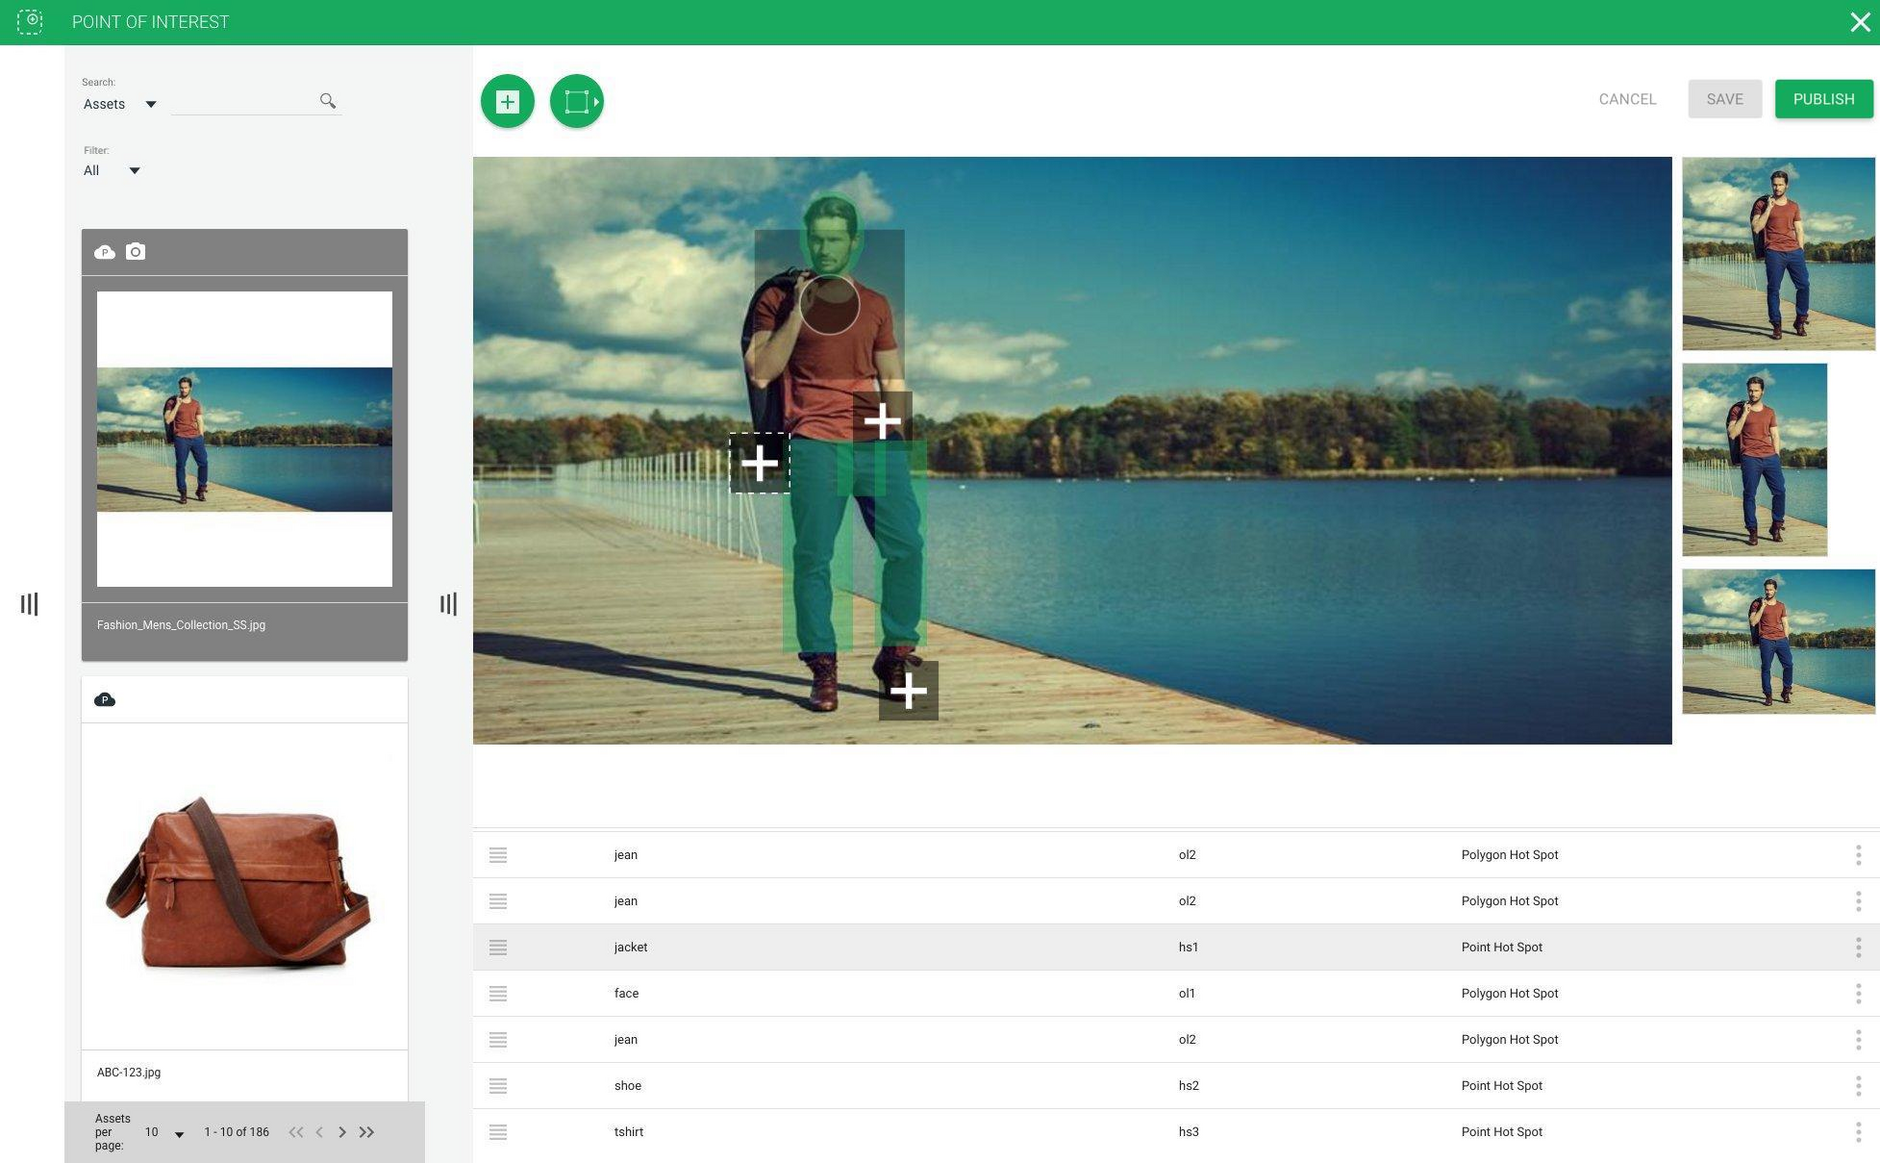
In the example below, we have enriched the image by applying...
point hotspots to the shoe, jacket and shirt.
polygon hotspots to the face and jeans.
Step 2: Save and PublishLink copied!
To save the image click the "Save" button. The metadata is added to the image and can be consumed from a virtual staging environment. In this example we want to consume the metadata from the published image URL, so we'll click "Save" and then "Publish".
Step 3: View POI dataLink copied!
You can view the image metadata as follows.
JavaScript:
The response is below.
JSON:
The response is below.
Step 4: Consume DataLink copied!
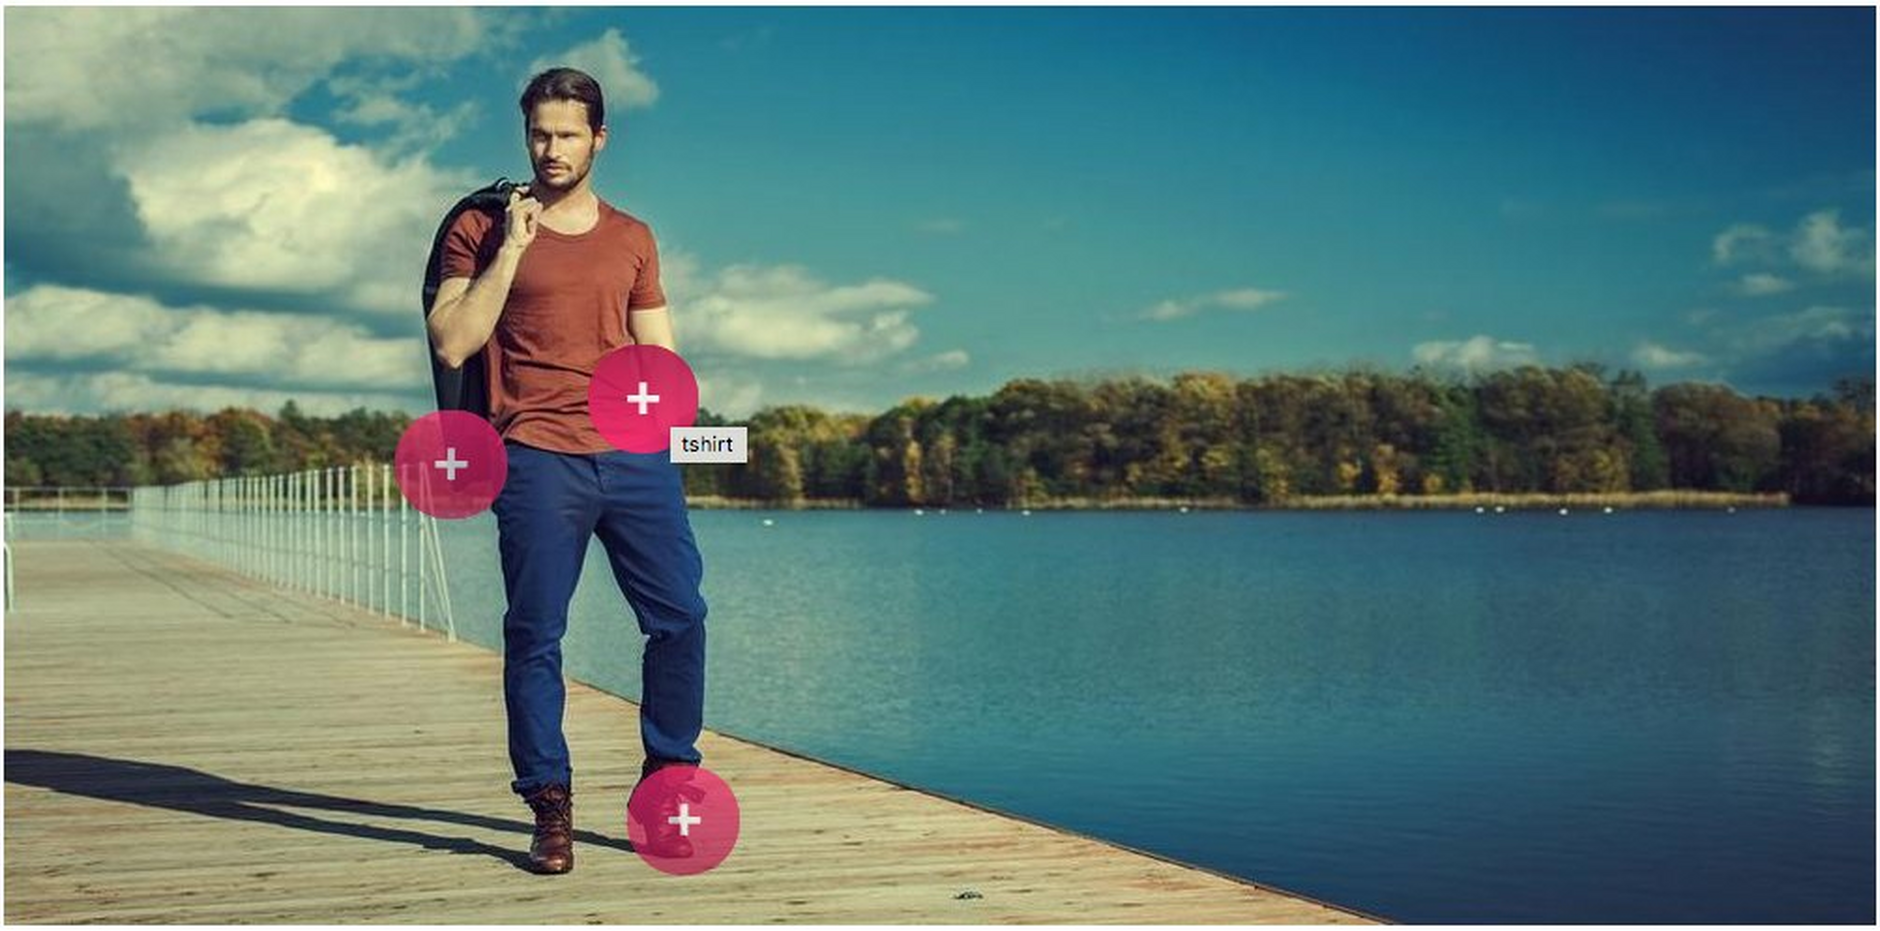
In this step we consume the data using this example HTML page (right-click the page and choose "View page source" to see the commented HTML).
The result looks like this:
Adding Hotspot SelectorsLink copied!
Now we take the previous example and extend it with two additional steps.
Extension Step #1: Add More Enrichment to the MediaLink copied!
In this extension step we add selectors to some hotspots (hs1, hs2):
Extension Step #2: Adapt Front-End Code to Consume the SelectionLink copied!
On this web page we have added "hs1" and "hs2" CSS classes, and have modified the DOM creation to check and add the CSS selector classes.
On the example web page you can right-click the page and choose "View page source" to see the commented HTML.
POI Overview VideoLink copied!
This video provides an overview of Point of Interest, introducing the concepts and showing you how to use the POI app.
